HOW TO SIZE A SOLAR SYSTEM – 5 clear steps anyone can follow
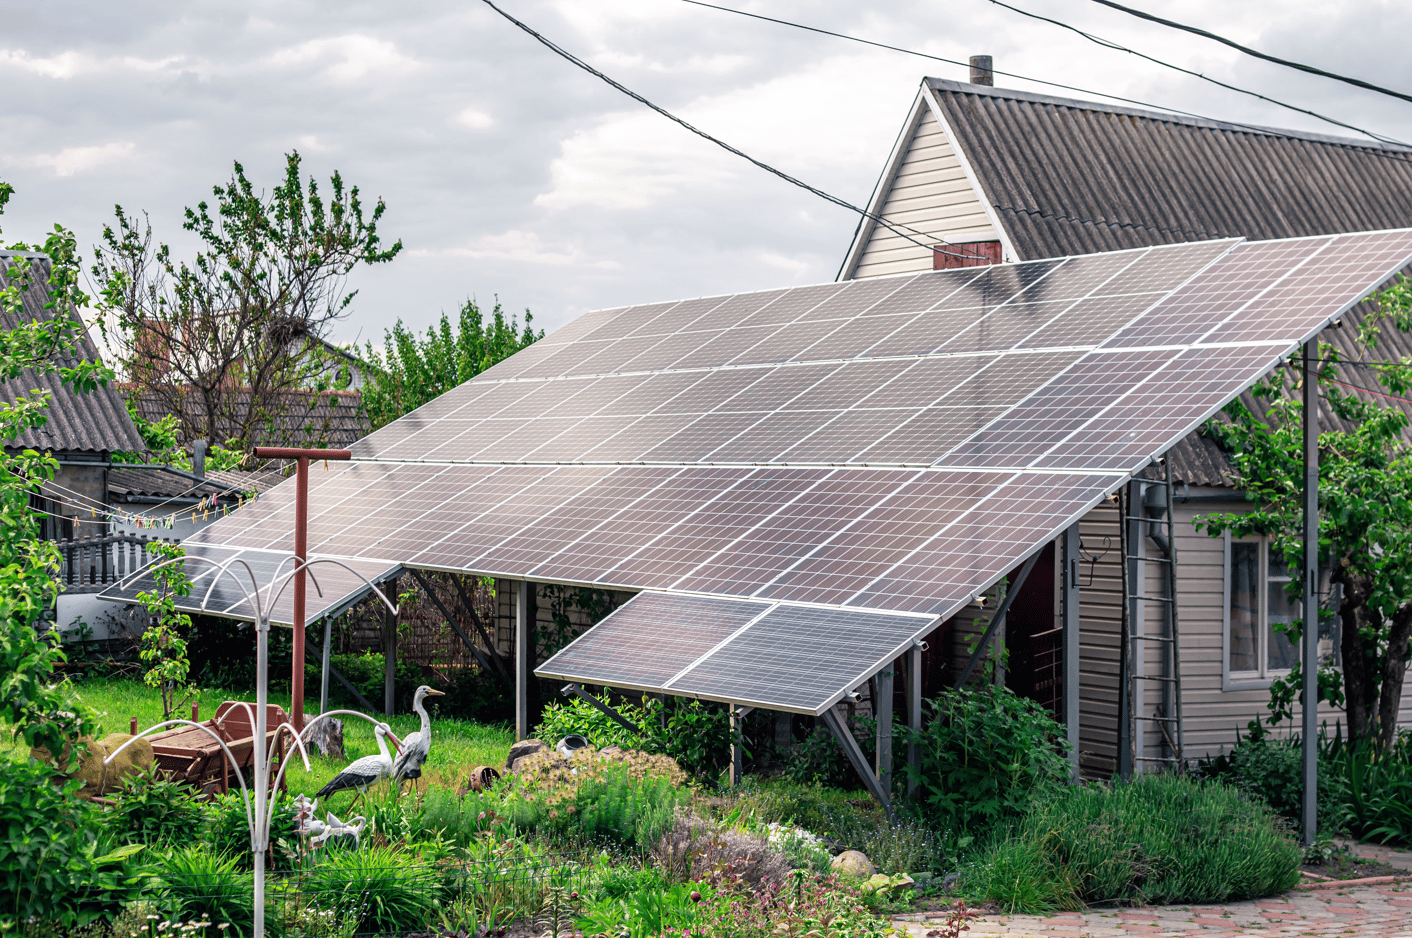
How do I size a solar system for my house? How do I size and install a solar system on my own? These are common questions from people who want to size and install a solar system on their own.
Sub questions on how to size a solar system arise from those who know part of the process but do not know other specific solar sizing. Examples include: How to size a solar inverter? How many solar panels do I need for my solar system? How to size a solar battery?…..
-
The Brightest Stars: Top 10 Solar Companies in CameroonFebruary 21, 2024
Solar energy has been a talk of the town mainly due to a quest for reducing costs, curb power cuts, going green, energy efficiency measure and saving the environment. Indeed solar does the above and moreover, it brings energy independence if done to aid or replace the grid.
The above reasons are the ones that usually make many people want to go solar. And in many cases many would want to size and install their own solar systems at their homes.
Are you interested in knowing how to size a solar system? Are you struggling to know what inverter size, charge controller or any of the solar system components do you need for a solar system at your house?
Wait a minute! You need to understand different components of a solar system and their functions before you can size a solar system. You will need to check common abbreviations in the solar sector before we start as we will use them in this exercise.
And don’t forget you need to know how to identify fake solar products to avoid buying fake solar products for your home solar sizing. Many have fallen victim to fake solar products.
Table of Contents
ToggleHow to Size a Solar System – Solar System Design
There are different methods that explain how to size a solar system. Some more easier ways involve using a sizing calculator where you simply have to enter values and the system will size and give you the sizing. This article focuses on sizing a solar system from scratch and not using a solar PV system sizing calculator.
Thus, we are going to do a simple sizing for an off-grid solar system to power a house. We are going to size different parts of the solar system differently in order to come up with the sizes of the different components of the solar system.
Furthermore, we are going to explain each procedure and why it is done that way when one is to size a solar system or design a solar system.
1. System Voltage – DC Voltage
In order to size a solar system, it can be simpler if you can determine the system voltage first. System voltage is the DC voltage of the overall solar system. For example the solar system can be 12V, 24V or 48V.
12V is for small and basic installations, 24V is for slight medium systems while 48V is for bigger systems. The best way to know the system voltage to use is to consider that if you will have more than 500 watts of solar panels then consider 24V. For 24V, installation wires can be made to run for longer distances with less losses as compared to 12V system.
As a general rule, if your solar panels are more than 30 meters from the load point (or house) then you need a 24V system, and more importantly 48V will be better.
WHAT IS A SOLAR HOME SYSTEM (SHS) – 7 treasure things to know
2. Sizing a Solar Inverter
Detailed steps for sizing a solar inverter can be found here.
The first point to understand for you to size a solar system and consequently an inverter is that your inverter’s input voltage requirements should match the system voltage you want. Or rather you can also start from an inverter and force your system voltage to that of the inverter – this works better for inverters with input voltages of 24V or 48V. Remember a solar inverter takes in DC voltage and outputs AC voltage.
To size a solar system inverter you have to consider the total watts of all the loads (appliances) to be connected to the solar system. The power rating of the inverter should be higher than the total power ratings of all the appliances or loads to be connected to the solar system. A simple table usually works better for this analysis.
Table 1 below shows a list of appliances and their power ratings.
| APPLIANCE | QUANTITY | UNIT POWER (W) | TOTAL POWER (W) |
| Indoor LED lights | 6 | 10 | 60 |
| Outdoor Flood lights | 4 | 20 | 80 |
| TV | 1 | 60 | 60 |
| Digital decoder | 1 | 55 | 55 |
| Phone | 2 | 5 | 10 |
| Laptop | 2 | 65 | 130 |
| Wifi router | 1 | 35 | 35 |
| Auxiliary load | 1 | 100 | 100 |
| TOTAL = 530W |
Note that we included the auxiliary load in the list of appliances. This is a redundant load that can represent any likely load that can be connected to the system when the system is running. It’s size can differ from system to system – for this case we just put it to represent a laptop or any appliance with slightly higher power requirements than a laptop, 100W. You can also cater for this by slightly oversizing the system components in the sizing.
Therefore, for our simple solar system sizing we will need an inverter of more than 530 W since our appliances have a total power rating of 530 W. This is where you will need to consider what is available to you and your market but at the same time meeting both 24V input power and power rating of more than 530 W.
Any inverter of 700 W and above will work perfectly for our solar system requirements, just to make our system bigger than our requirements in any case extra loads are connected. Thus, we will use a 700 W inverter for our sizing.
Take note that you have to understand that many inverters are rated in VA (VoltAmps) which is the apparent power, as opposed to W or kW. If you are not familiar with these terms please check this article.
3. Sizing a Solar Battery
Battery storage is a key component if you are to size a solar system. A solar battery is sized from the load requirements – that is using the list of appliances to be connected together with their respective run times (hours for which each appliance will be connected to the solar system).
A simple table usually works better for this analysis. We will continue with our Table 1 we used for sizing the inverter and this time we add run times for the appliances and calculate the total energy required.
Energy (Wh) = Power (W) * Time (h)
Table 2 below shows a list of appliances, their respective power ratings, run times and the total energy consumption.
| APPLIANCE | QUANTITY | UNIT POWER (W) | RUN TIME (h) | TOTAL POWER (W) | TOTAL ENERGY (Wh) |
| Indoor LED lights | 6 | 10 | 6 | 60 | 360 |
| Outdoor Flood lights | 4 | 20 | 12 | 80 | 960 |
| TV | 1 | 60 | 6 | 60 | 360 |
| Digital decoder | 1 | 55 | 6 | 55 | 330 |
| Phone | 2 | 5 | 2 | 10 | 20 |
| Laptop | 2 | 65 | 2 | 130 | 260 |
| Wifi router | 1 | 35 | 2 | 35 | 70 |
| Auxiliary load | 1 | 100 | 1 | 100 | 100 |
| TOTAL = 530W | TOTAL = 2460 Wh |
Remember to put the run time hours for each appliance in Table 2.
From Table 2, total energy needed for our solar system is 2460 Wh. In order to get the actual energy required we have to consider the depth of discharge (DOD) for the battery type we are going to use. For our sizing we are going to use lithium ion batteries with a DOD of 90%.
What is Depth of Discharge (DOD)? DOD is a measure of how much energy as a percentage is cycled into and out of the battery on a given cycle. A cycle is normally a charge and a discharge – for example usually we have one cycle per day, meaning that we charge and discharge the battery about once a day.
Lithium batteries have a higher DOD (usually above 90% and close to 100%. This simply means you can discharge almost 100% of the battery and be able to charge it back to 100% capacity without affecting the performance of the battery. The other battery types such as GEL and lead acid type have lower depth of discharge – usually less than 50% depending on the type.
You can get information about DOD of a battery by looking at the datasheet provided together with the battery. Some batteries have this information written on the battery body together with other key technical specifications.
Now let’s see how do we calculate the actual energy needed for a solar system. Formula below is the one to use.
Actual energy needed = Total energy / DOD
Therefore, for our solar sizing we are doing, actual energy needed = (2460 Wh / 0.9) = 2733 Wh
Note that the total energy above is for one day of autonomy. For simplicity we are going to size our system for just one day of autonomy. Normal cases can be to size a solar system for 3 days of autonomy to cater for days where the sun might not be available due to examples such as overcast.
In that case the battery energy will be able to go for 3 days without need to recharge. To cater for 3 days of autonomy you have to multiply the total energy by 3 to get your actual energy needed. However you have to understand that sizing the battery for more than one day of autonomy will come at an extra cost, hence that is why people end up sizing for only one day of autonomy.
For us to know the number of batteries we need we need to know the specifications (voltage and Ah) of the batteries we want to use. For example if we want to use 24V, 120Ah lithium ion batteries with a DOD of 90% then:
Number of batteries needed = Total Energy / Battery energy
In our case, battery energy = (24V * 120Ah) = 2880 Wh
Number of batteries = (2733 Wh / 2880 Wh) = 0.95 batteries, therefore we just need 1 battery, 24V, 120Ah lithium ion type.
You have to make sure you arrange your batteries in such a way that they match your system voltage. In our case our system voltage is 24V and our battery voltage is 24V as well so there was a straight match.
In the event that your battery voltage is 12V and your system voltage is 24V you have to put two batteries in series to make 24V and then put them in parallel to maintain the 24V if there are more than 2 batteries. Remember battery voltage is added when batteries batteries are put in series (one after the other) and battery voltage remains constant when batteries and put in parallel.
Note that some solar system uses a battery based inverter, for example in this product. And in that case you will only need to size the solar panels if they are not provided as a package.
4. Sizing Solar Panels
In our goal to size a solar system, a solar panel array is part of this and has to be sized. In order to size solar panels we have to use the total energy required and the energy generated by each solar panel.
Number of solar panels needed = total energy needed / (the size of each solar panel to be used * sun hours)
When we size a solar system we have to know the number of sun hours for the region or country that we are installing the solar system in. For example good areas for solar systems have an average of about 5 sun hours. Sun hours are like the effective number of hours the sun will be falling on the solar panels and generating significant energy.
For our solar system we are sizing we will assume 5 sun hours. Therefore, if we want to use 300W solar panels for our solar system then,
Number of solar panels = 2733 Wh / (300*5) = 1.91 solar panels.
Hence we need 2 solar panels for our solar system.
The idea is that the total energy generated from the solar panels should always be greater than the total energy needed for the system. For our sizing case, considering 5 sun hours, 2*300W solar panels will generate 3000 Wh (600W*5hours) for each day which is more than the total energy needed.
To picture it in a simple way – 600W of solar panels will be exposed to 5 hours of sun per day and will generate 3000 Wh of energy daily.
The 2 solar panels needed form a solar panel array. In order to know how to arrange the solar panels either in series or in parallel, we have to look at the solar panel specifications which are obtained from the back of the solar panel. The voltage of the solar panel configuration should be greater than the system voltage – in our case 24V.
Therefore if the specifications for the solar panels we want to use are 300W, 33.5V and 8.9A then we put our solar panels in parallel to maintain the voltage. Remember that when the put these solar panels in parallel, the total current will be double, 17.8A.
When sizing solar panels we usually factor in the efficiency and losses factor by effecting an extra on the calculation of solar panel array. A factor of about 10-20% is usually used.
Learn more about common losses for solar installations here. In this case we will not be putting the efficiency factor since we included an auxiliary load at the start.
For tilt angle calculation check: FREE TOOLS to use for Solar Panel Tilt Angle Calculation and Installation – for any location
5. Sizing a Charge Controller
For you to size a solar system you need to know how to size a charge controller. A charge controller connects the solar panels to the batteries for their charging regulation. A good charge controller must be able to withstand the maximum current produced by the solar panel array as well as the maximum load current.
In order to choose or size a charge controller we need specifications for the solar panels. In our case 300W, 33.5V and 8.9A connected in parallel with a total current of 17.8A.
Total load current can be obtained from the power ratings of the appliances to be connected. Basically you have to add all the current ratings for all the loads to be connected. In our case we can simply divide the total power by the voltage to get the total load current.
Total load current = total power / AC voltage of the loads
In our case, total load current is 530 W / 230V = 2.3A
Therefore we consider 17.8A for the solar panel array and 2.3A for the load current. Our charge controller should be able to withstand these two currents so we consider the bigger. So our charge controller can be a 20A, 24V charge controller. 24V if obtained from the system voltage.
Summary
Now that we have sized all the key components of our solar system, we can just summarize the component sizes of our solar PV system design. The remaining parts such as protection, cabling and other installation materials will be covered in our dedicated article for solar system installation, so keep following SolarEyes International for this.
Summary below gives the overall sizing for our solar system.
System voltage: 24V
Inverter: 700W
Battery: 1 battery, 24V, 120Ah lithium ion type
Solar panels: 2 * 300W
Charge controller: 20A, 24V
After all this sizing it is important to know that there are different ways of sizing a solar system therefore what is important is to understand the basic concept of how to size a solar system rather than memorizing. When you understand the concept it will be easier for you to follow any sizing method.
Ant that’s it, you have sized your first solar system. Now your turn to teach someone how to size a solar system.
Keep Yourself Plugged!
Keep following SolarEyes International as we will take this article forward by publishing other articles related to this to cover solar sizing calculator, solar installation and specific information such as how to select a good inverter.
FOLLOW US
Follow us on LINKEDIN, FACEBOOK, TELEGRAM GROUP and WHATSAPP.
*** ALSO CHECK: 12 CHALLENGES FACED BY SOLAR COMPANIES IN DEVELOPING COUNTRIES



The article was well researched and it is very educatve, I have learnt a lot.
Thanks Emmanuel for the feedback. We are glad to know that this was helpful. We hope to keep bringing such helpful information.